In this post, I'm going to walk through how to make a Facebook Messenger chat bot using my open source Survey Bot Repository.By the end of this tutorial, you'll have a fully functioning bot that responds to a series of questions and saves the information to a database
Prerequisites
Ruby 2.2+
Rails 5.0+
PostgreSQL - if you don't have this already, the easiest way is using homebrew and running brew install postgres
A Facebook profile
A Facebook developers account. Create one at developers.facebook.com
Getting Started
Clone the repository
git clone https://github.com/mattmorgante/survey-bot
cd survey-bot
Run bundle install to get the facebook-messenger gem, migrate the database schema, and start your rails server.
bundle install
rake db:create
rake db:migrate
rails s
At this point, you should have the Rails welcome aboard message

Ngrok
In order to get the application running on an external address where Facebook can access it, we'll need to download Ngrok. Download the package and then run it by pointing the port to 3000
/Users/<your.username>/Downloads/ngrok http 3000
Now you should be able to navigate the ngrok forwarding address and see the same Rails welcome aboard message. If you can't get this far, pause here to debug and get things set up before moving on to Facebook's configuration.
Facebook Configuration
You need to create a Facebook page. All Facebook messenger bots correspond to an existing Facebook page.
Go to https://www.facebook.com/pages/create/

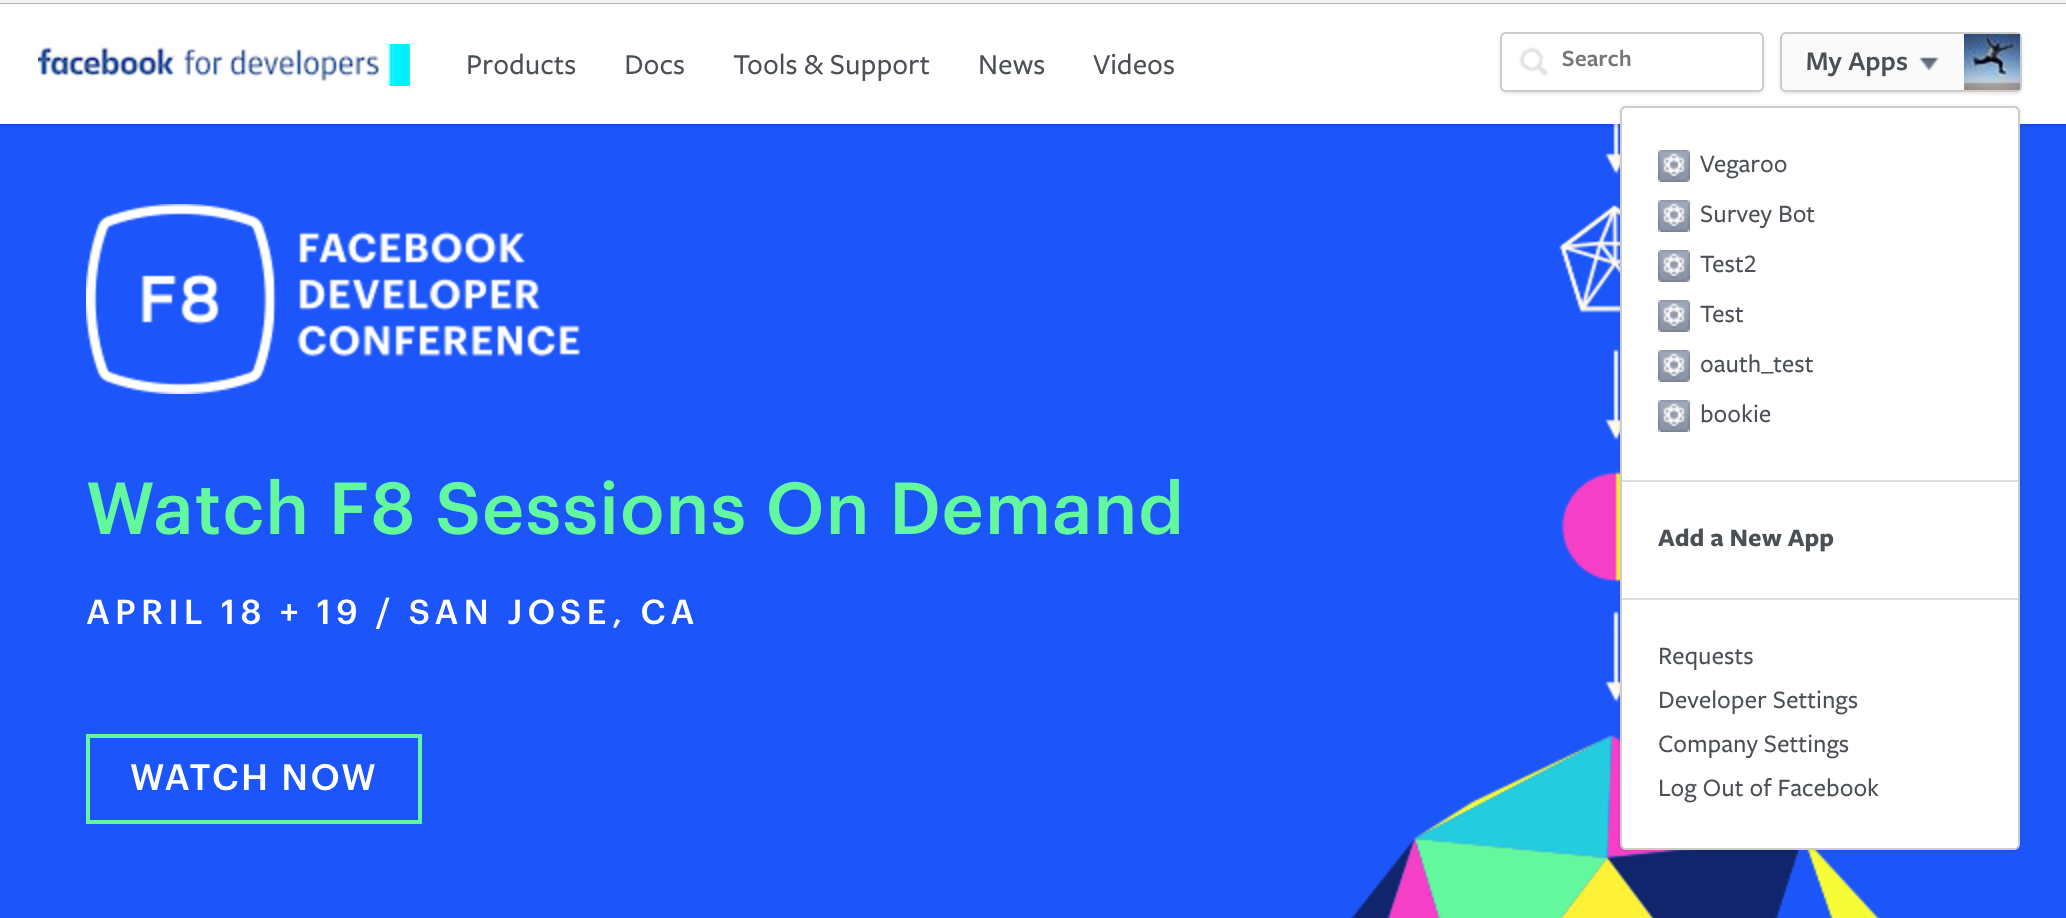
Next, go to developers.facebook.com and after logging on or creating an account, use the dropdown menu to create a new app.
On the Product Setup page, add Messenger as one of the app's Products.

Within the messenger setup panel, generate a token and make sure it is subscribed to the page you setup in the previous step.

Now it's time to start modifying your survey-bot repository. Add the token to the file named .env.
Simply replace the line that says <your_access_token_here>. Do not generate additional access_tokens during the lifecycle of creating your application. They will constantly change and be difficult to keep track of.

At this point, restart both your rails server and ngrok.
Now, you are ready to add Webhooks as a product.

You might have noticed that the survey-bot code contains just one route, bot. We will point the bot to access that route.
Within the Webhooks setup panel, point the callback URL to the https version of your ngrok address with /bot at the end. For the Verify Token, add the word verify. Facebook will read this from the same .env file.

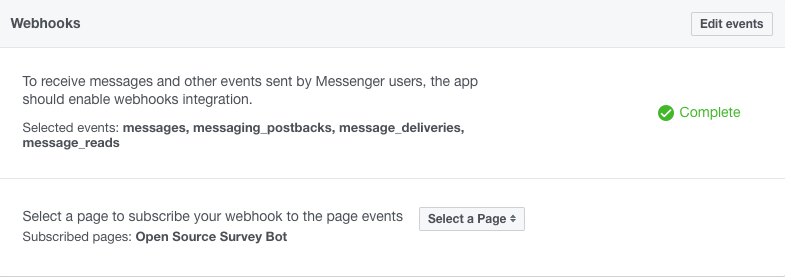
Next, setup the webhooks from the messenger panel. Here, input the same callback URL and Verify Token, but also subscribe your application to messages, message_deliveries, messaging_postbacks, and message_reads.

Now, subscribe this webhook to the page you created in the previous step!
Sending Requests
Finally, we are ready to test the bot out.
From the command line, submit the following CURL request. This will create a "Get Started" button within the messaging interface, enabling users to trigger interaction with the bot. Any time you want to make changes to the bot, you will need to delete your conversation and start again by messaging the page and clicking "Get Started."
Edit the CURL request to include your own Access Token instead of YOUR_ACCESS_TOKEN_HERE.
curl -X POST -H "Content-Type: application/json"thread_state":"new_thread", "call_to_actions":[ { "payload":"START_USER_SURVEY" } ] }' "https://graph.facebook.com/v2.6/me/thread_settings?access_token=YOUR_ACCESS_TOKEN_HERE"

You can find more information about the get started button using the Messenger Documentation.
You may have noticed that in the CURL request, we are sending a payload of "START_USER_SURVEY." That's because "Get Started" will now trigger our basic application flow, which is visible in app/bot/messenger_bot.rb.
At this point, you should be able to initiate the conversation with the bot and view the question and answer flow.

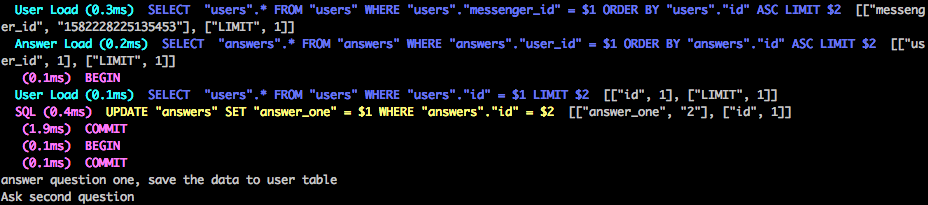
Additionally, in the rails server logs you can now see the transfer of data between the bot and the application, resulting in data being entered into the database. Here is what the rails server should look like:
Most importantly, we can now even see all users and their answers to the survey in our rails console.

Adding Testers
If you'd like to introduce your new bot friend to more people, you can add testers by clicking on "Roles" in the Facebook app panel, then adding testers. Send these people a link to the facebook page and they will be able to interact with the bot as well.
Editing Questions and Answers
Finally, let's get to the good part: adding your own questions and answers. Because this is a survey bot, I've tried to make it as easy as possible to edit the existing questions and answers with the code. Simply go to the code and navigate to app/bot/messenger_bot.rb.
One function, execute_survey, serves as the master of the application logic. Based on the postbacks provided by facebook (for example, 'START_USER_SURVEY' or 'ANSWER_ONE_ONE', this file determines what to respond and what to save to the database).
For example, if the app receives a postback payload of "ANSWER_ONE_ONE", it will update the answer_one column in the answer table with the value of 1, save that data, log two lines to the rails server output, then submit the method that requests the rendering of question two (ask_second_question).

By editing the text of the questions and adding additional functions (ask_third_question), you can easily expand the survey to fit your needs.
Database Schema
The database schema is very simple, and can be enhanced for additional functionality.
The user table consists of first_name, last_name, messenger_id, and gender. All of this information is automatically populated after the first request from the bot.

The answer table has a foreign_key relationship with the user table, so that each answer belongs to a specific user. Other than that, it just has two basic fields for the answer to question one and the answer to question two.

As I discovered recently, building your own facebook bot can be a troubling and error-prone process. My hope is that with this repository and tutorial, it can be easier for both developers and newbies. If if you have any questions or something doesn't work the way you expected it to, be sure to let me know in the comments below!